Account Setup
In order to setup your Reports for Jira Account follow the steps below.
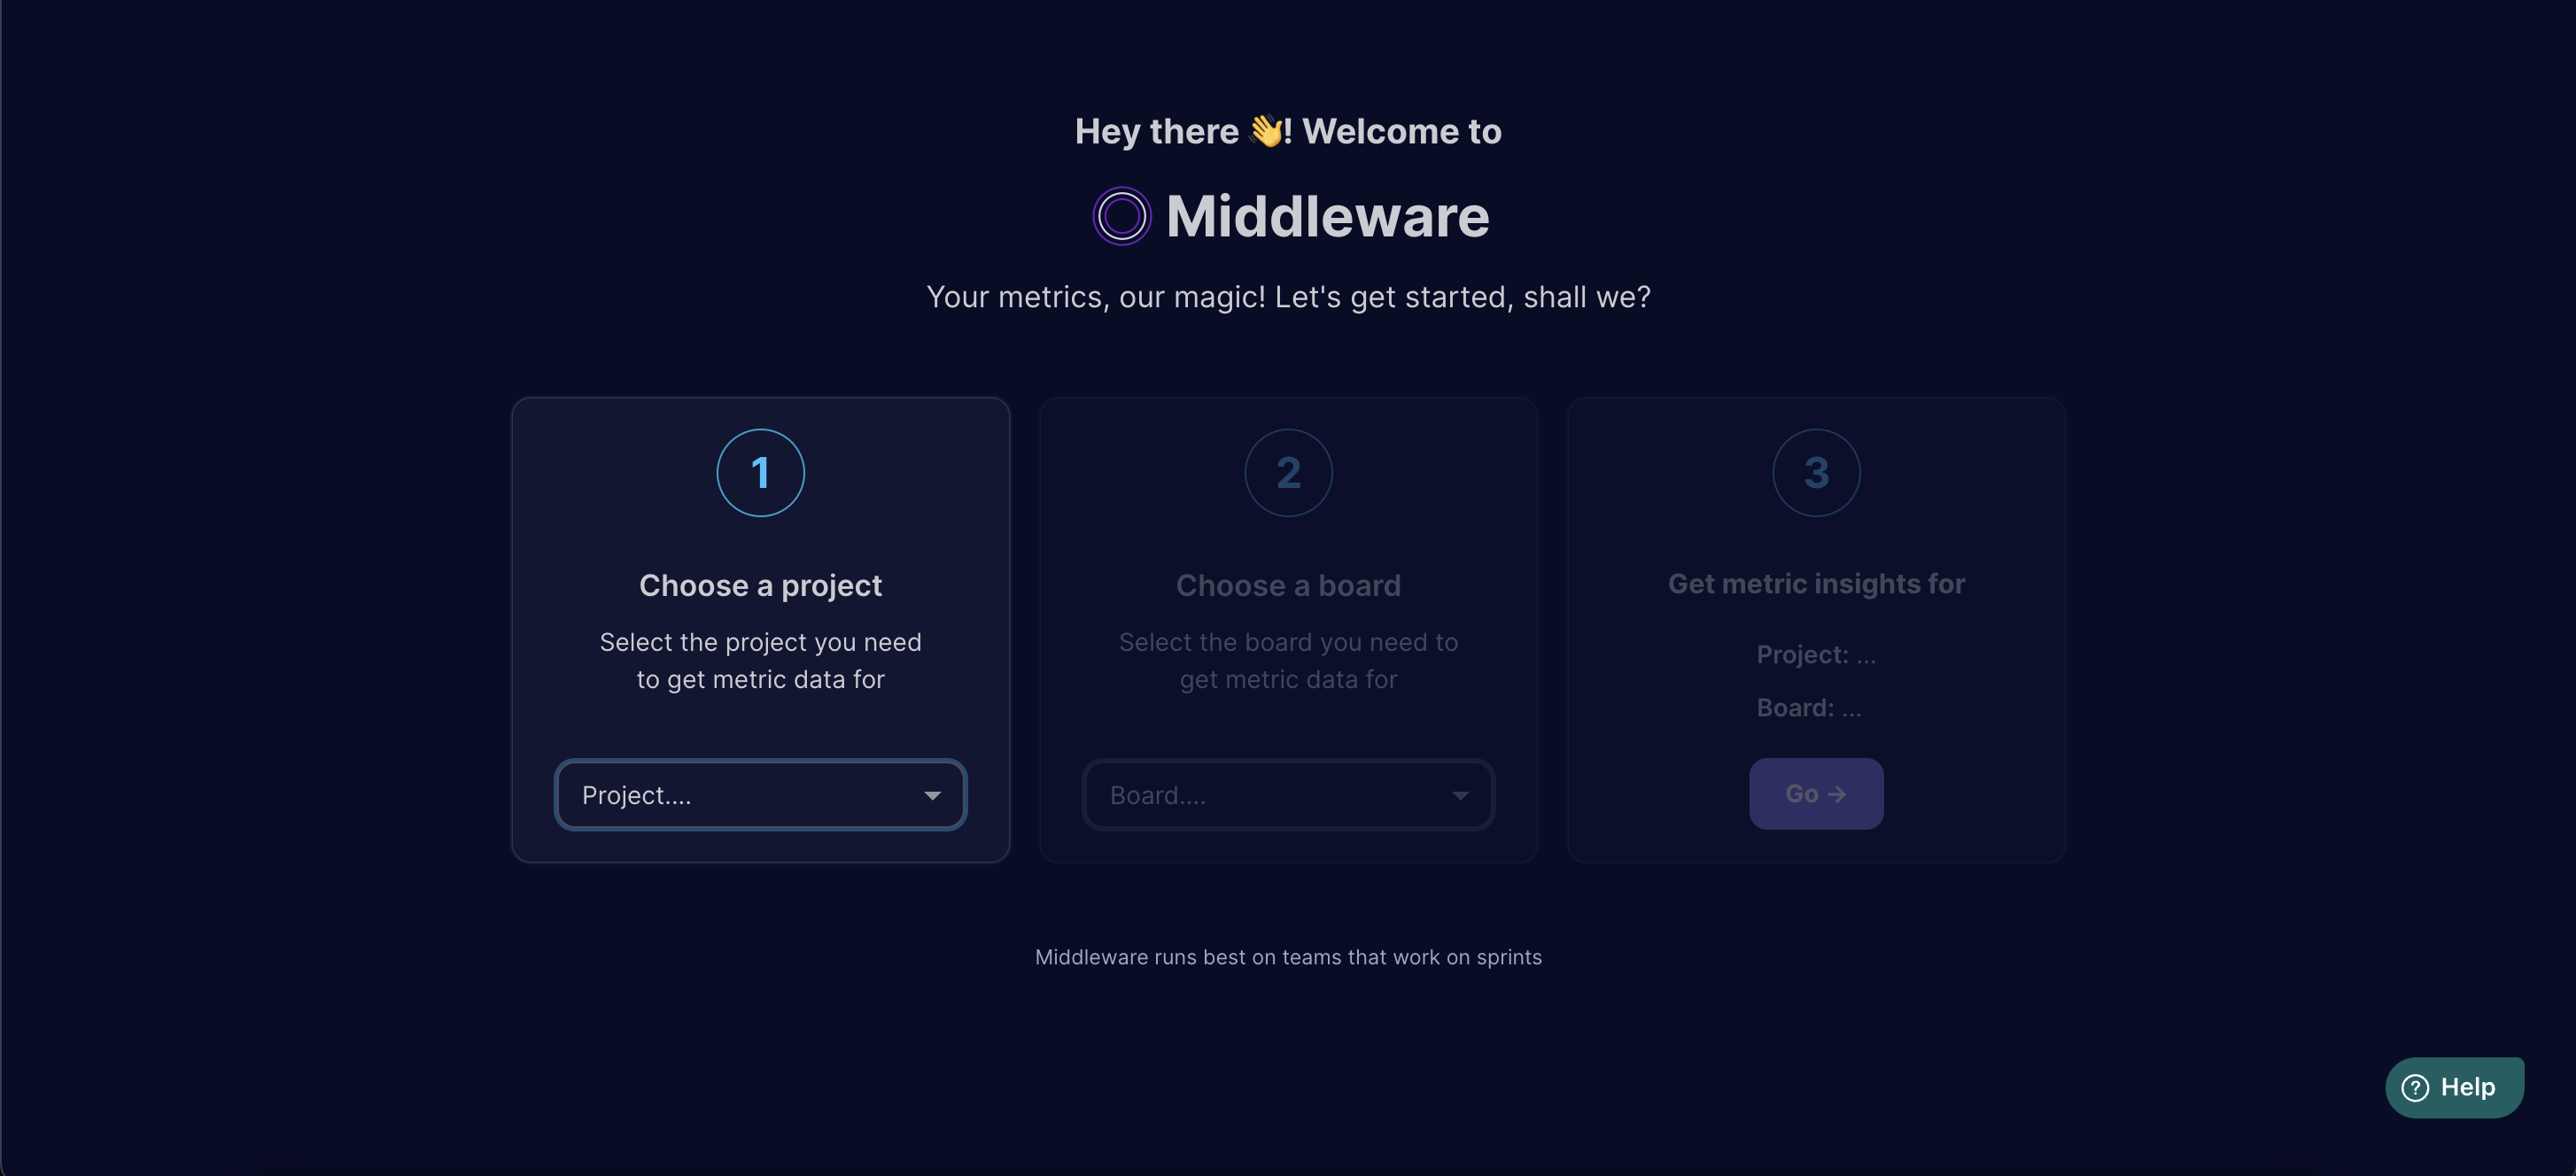
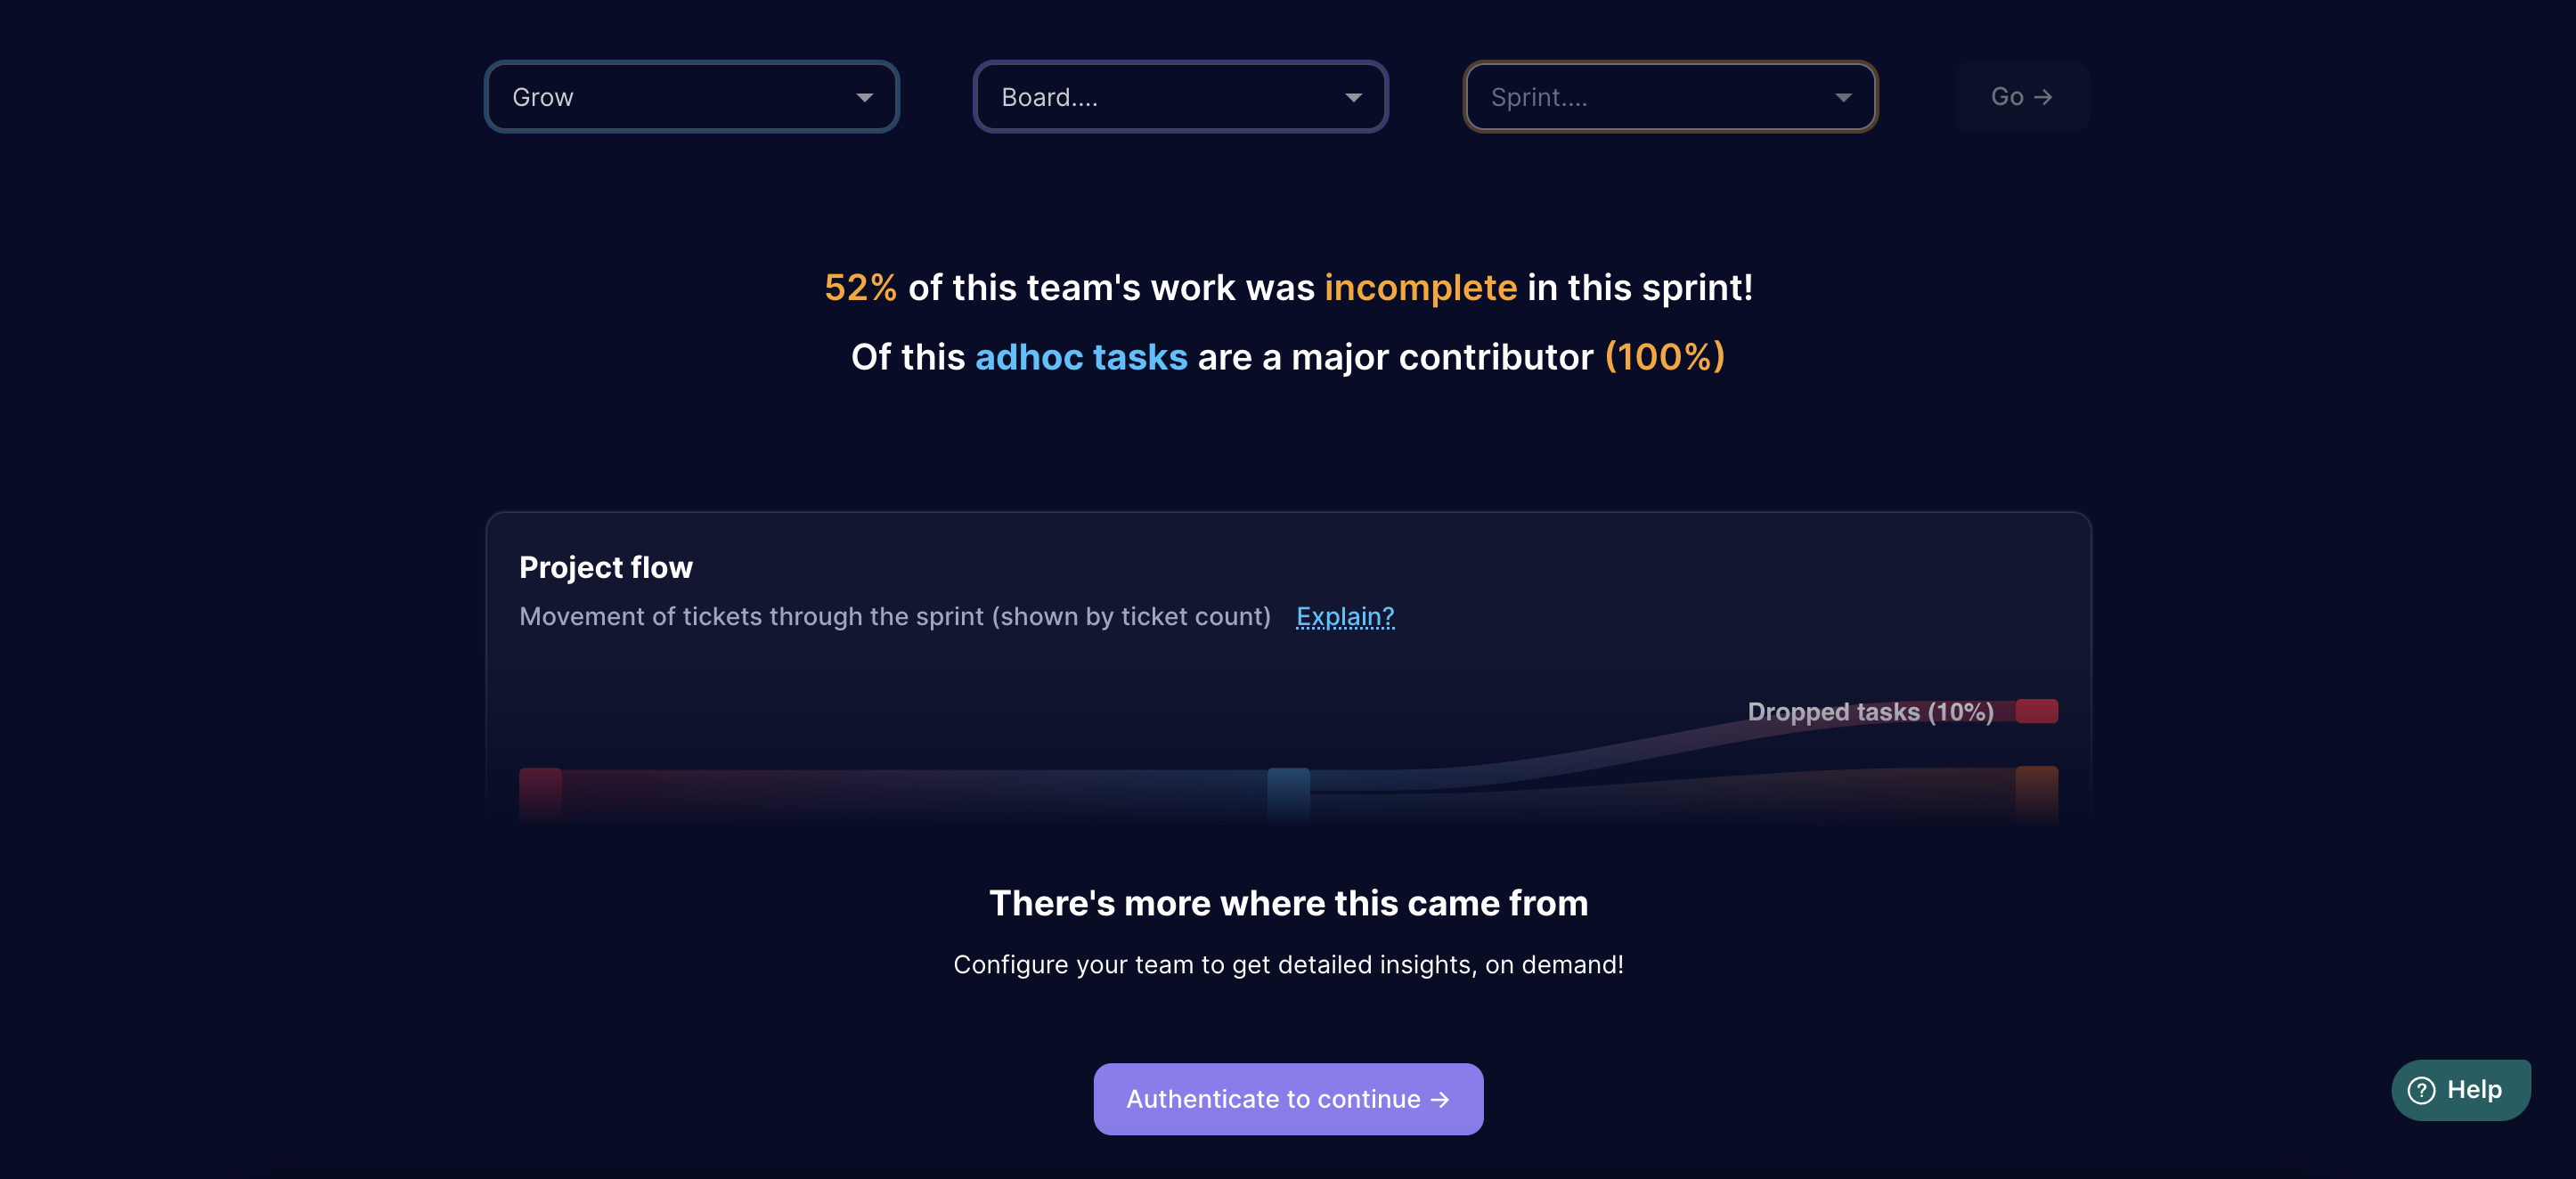
Select Projects and Boards
On the app's main page, choose the projects and boards that utilize sprints for tracking.
- Select Project that you wish to see metrics for
- Select the relevant Board in the project.
PS: Make sure that selected project and board use sprints to track data.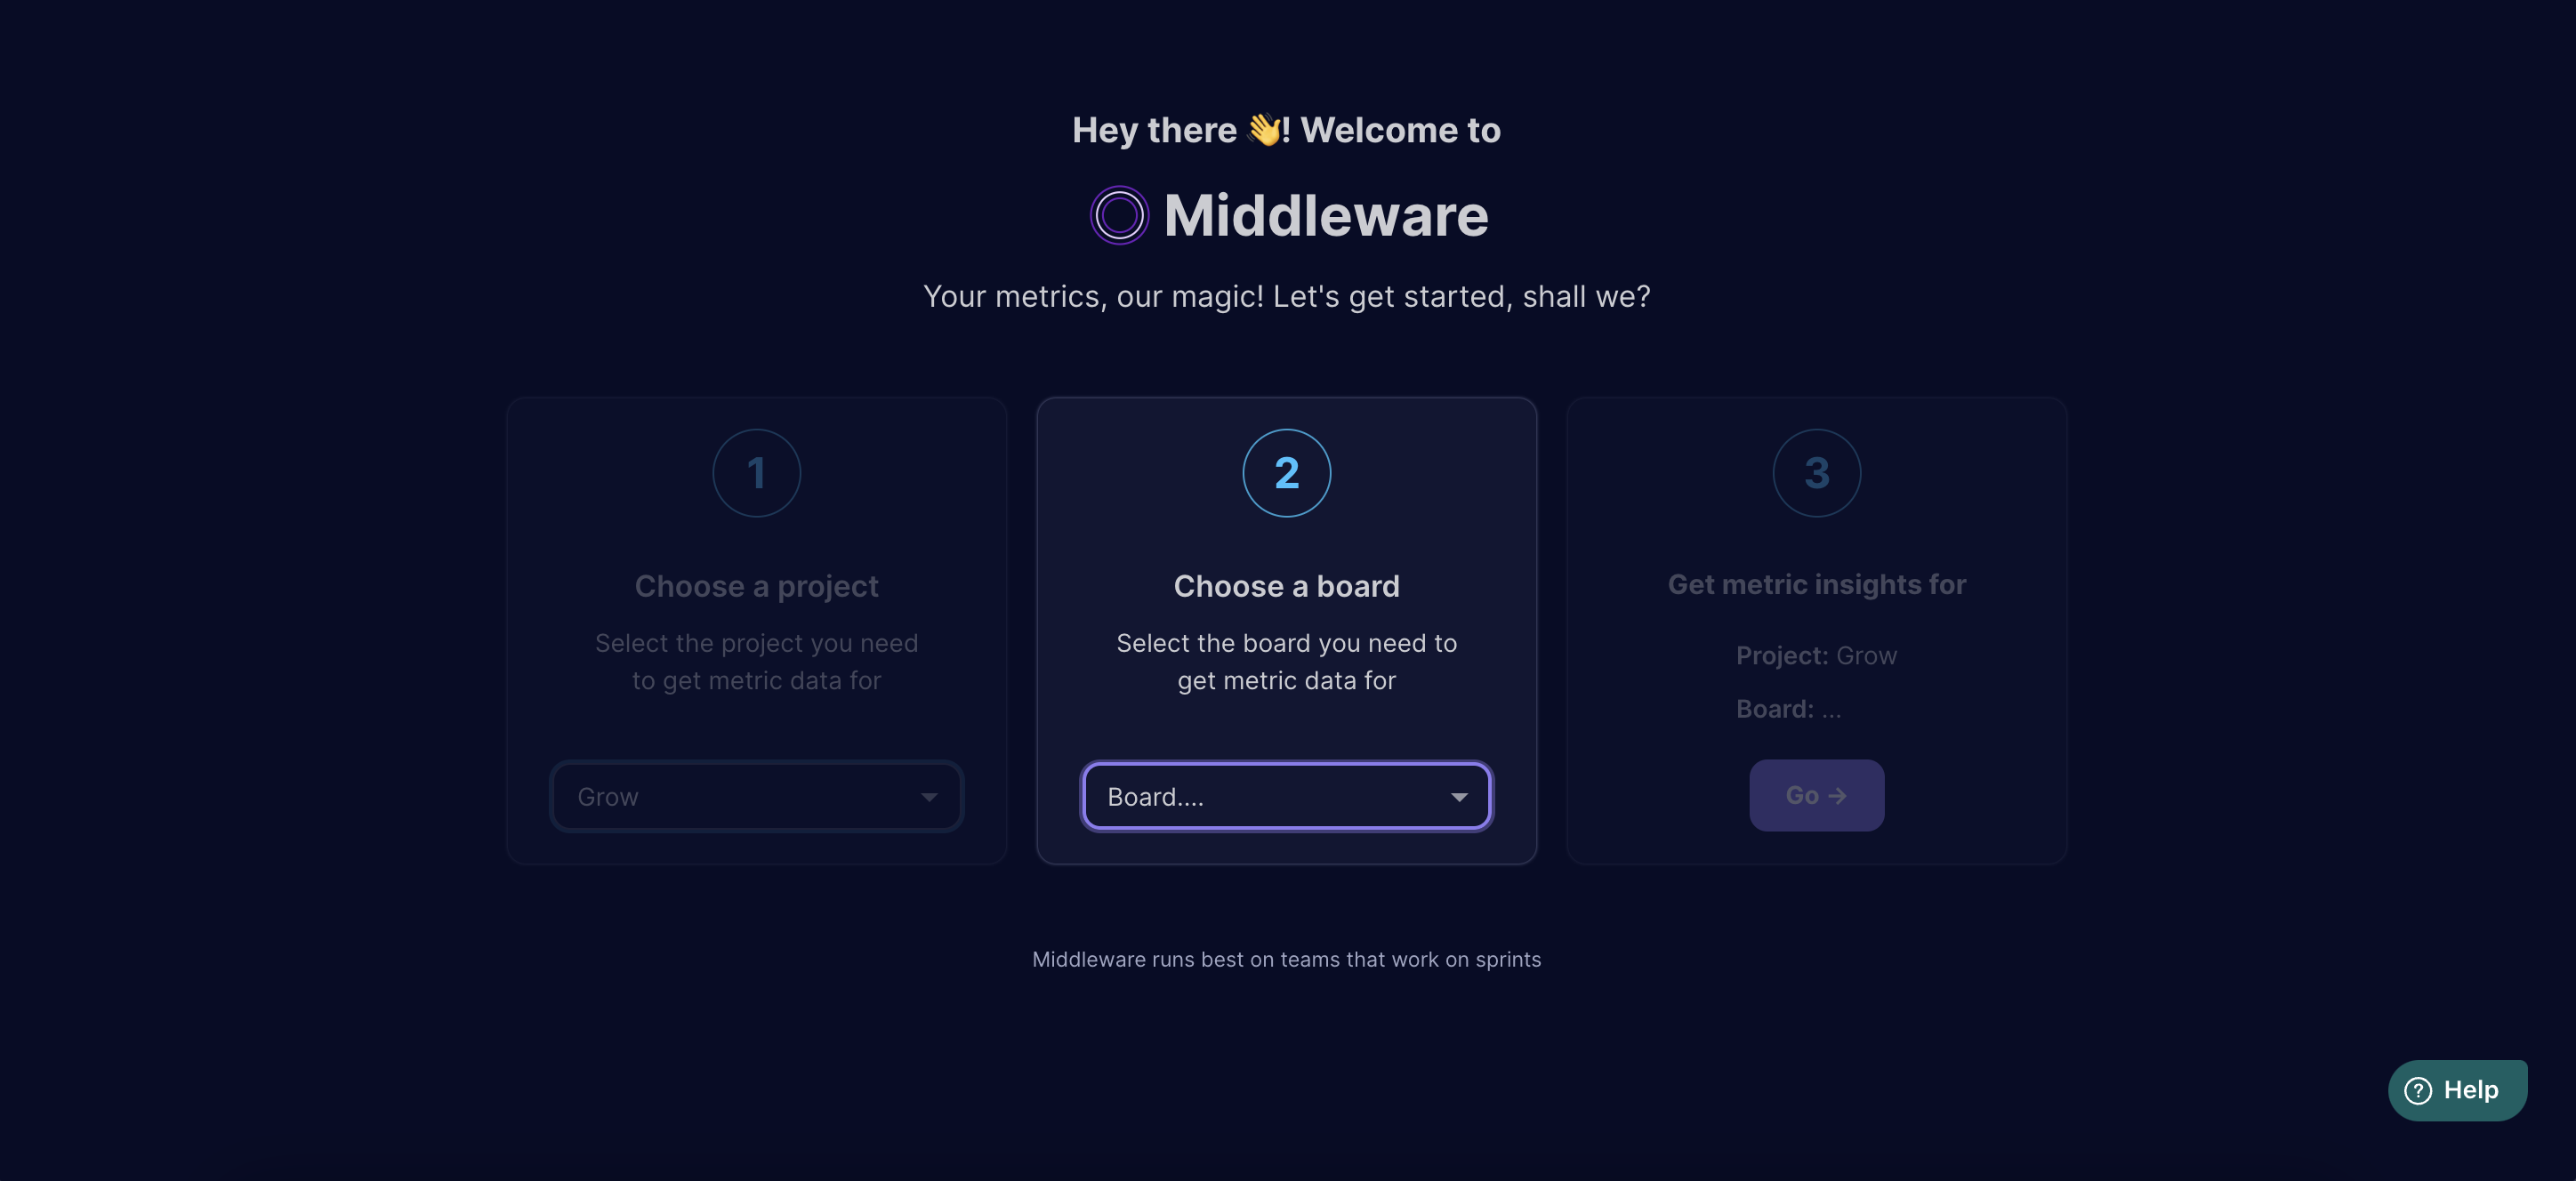
- Click Go to get relevant metrics
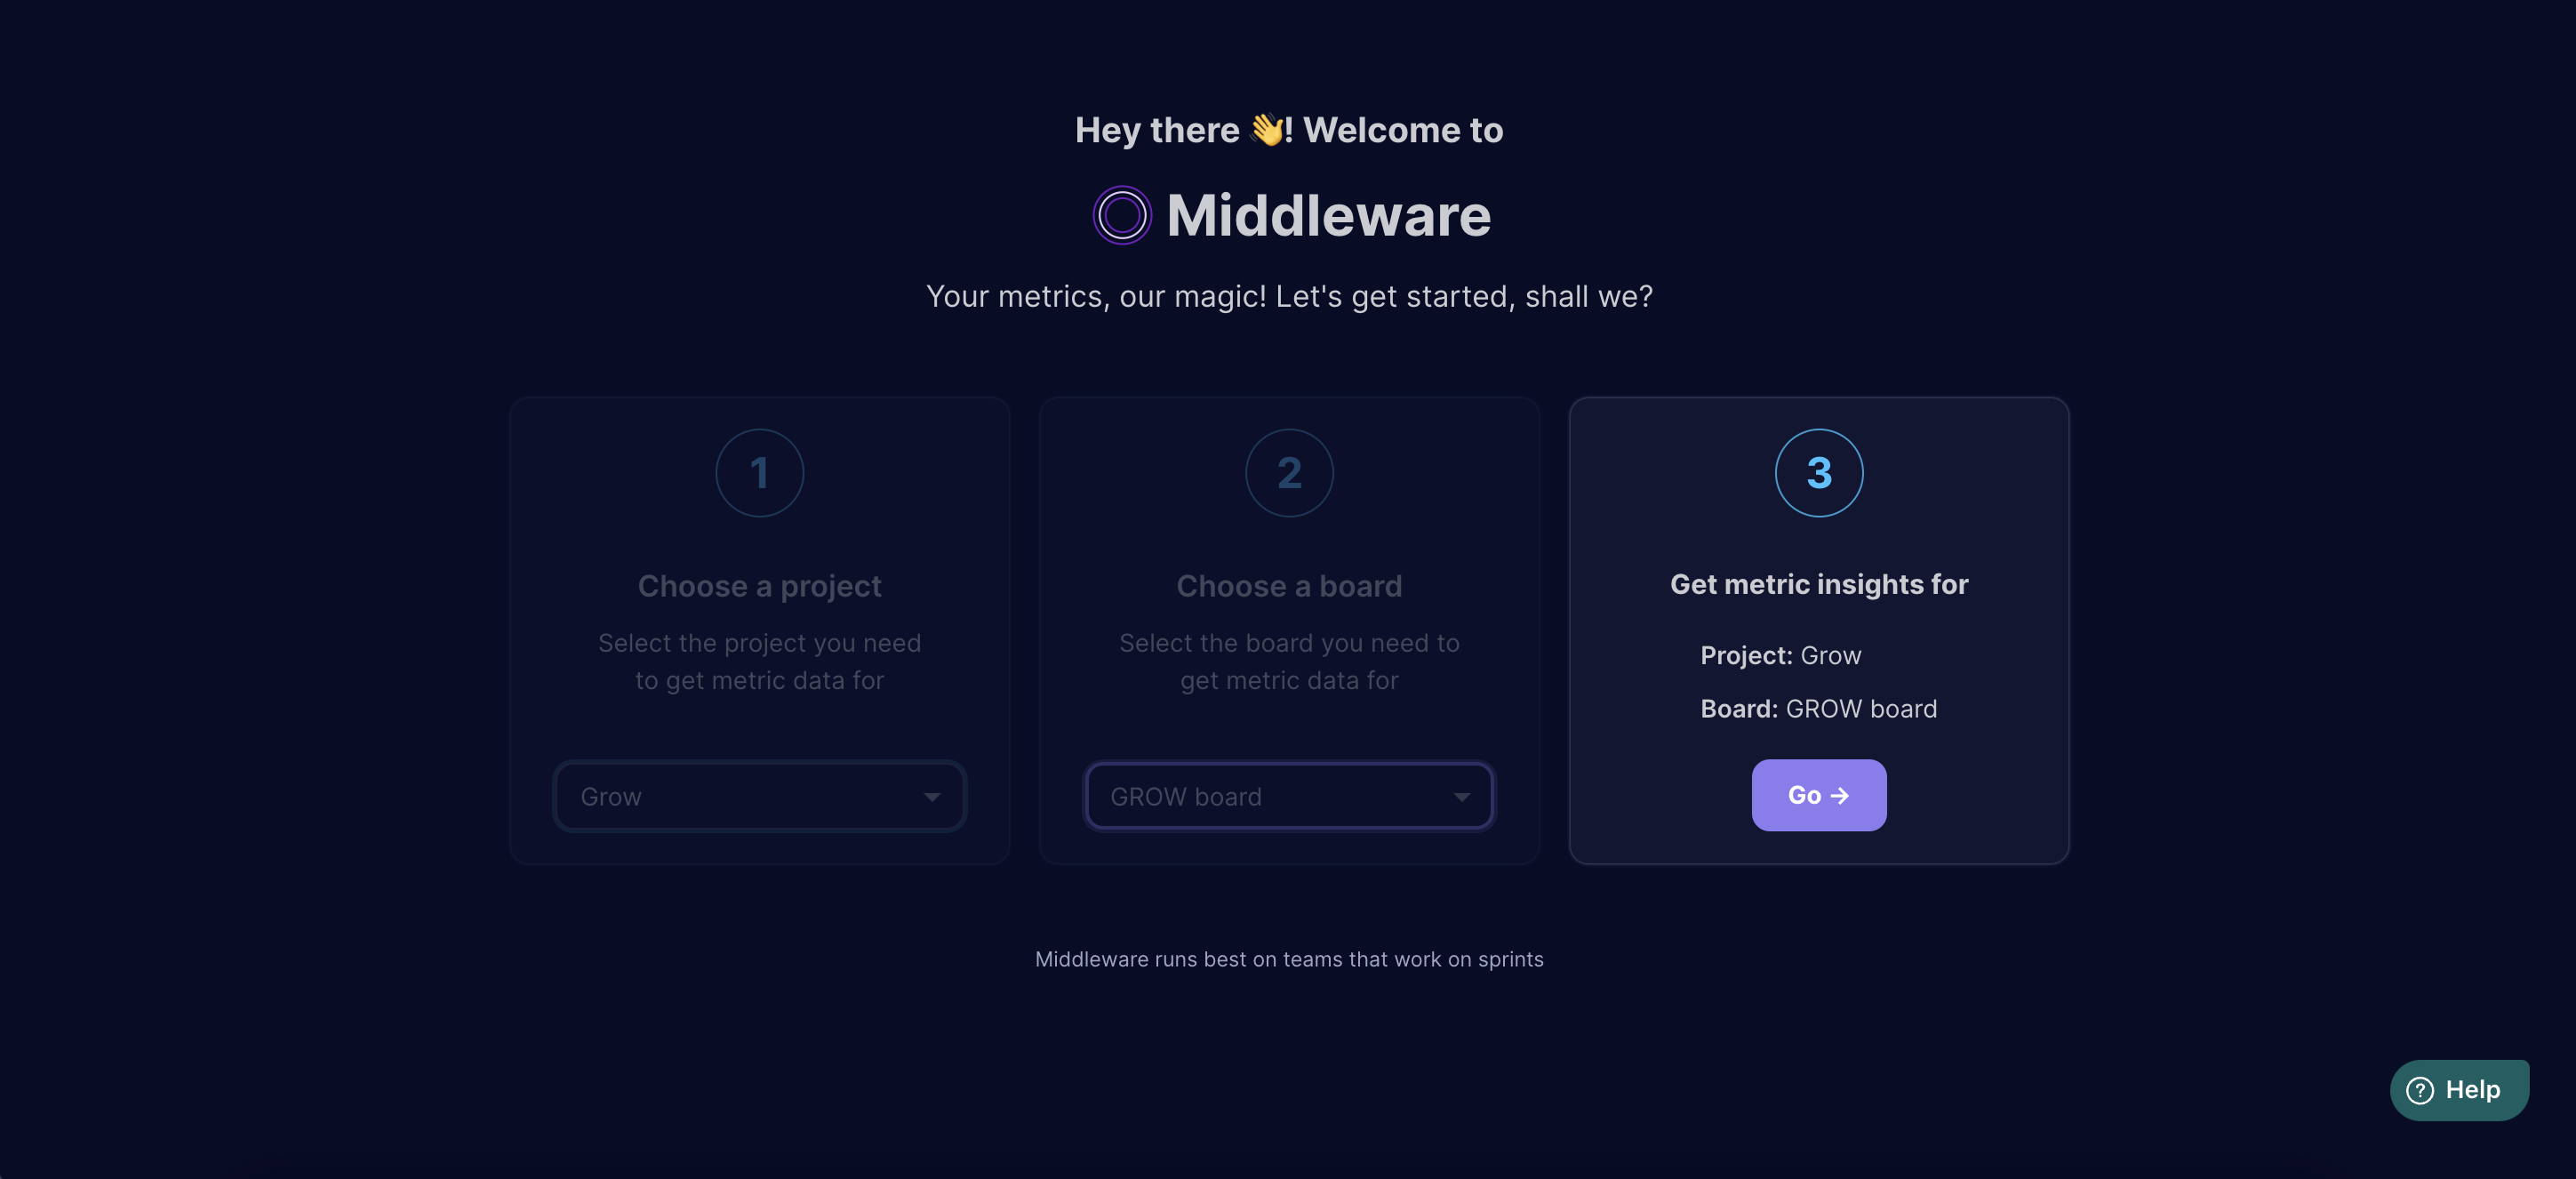
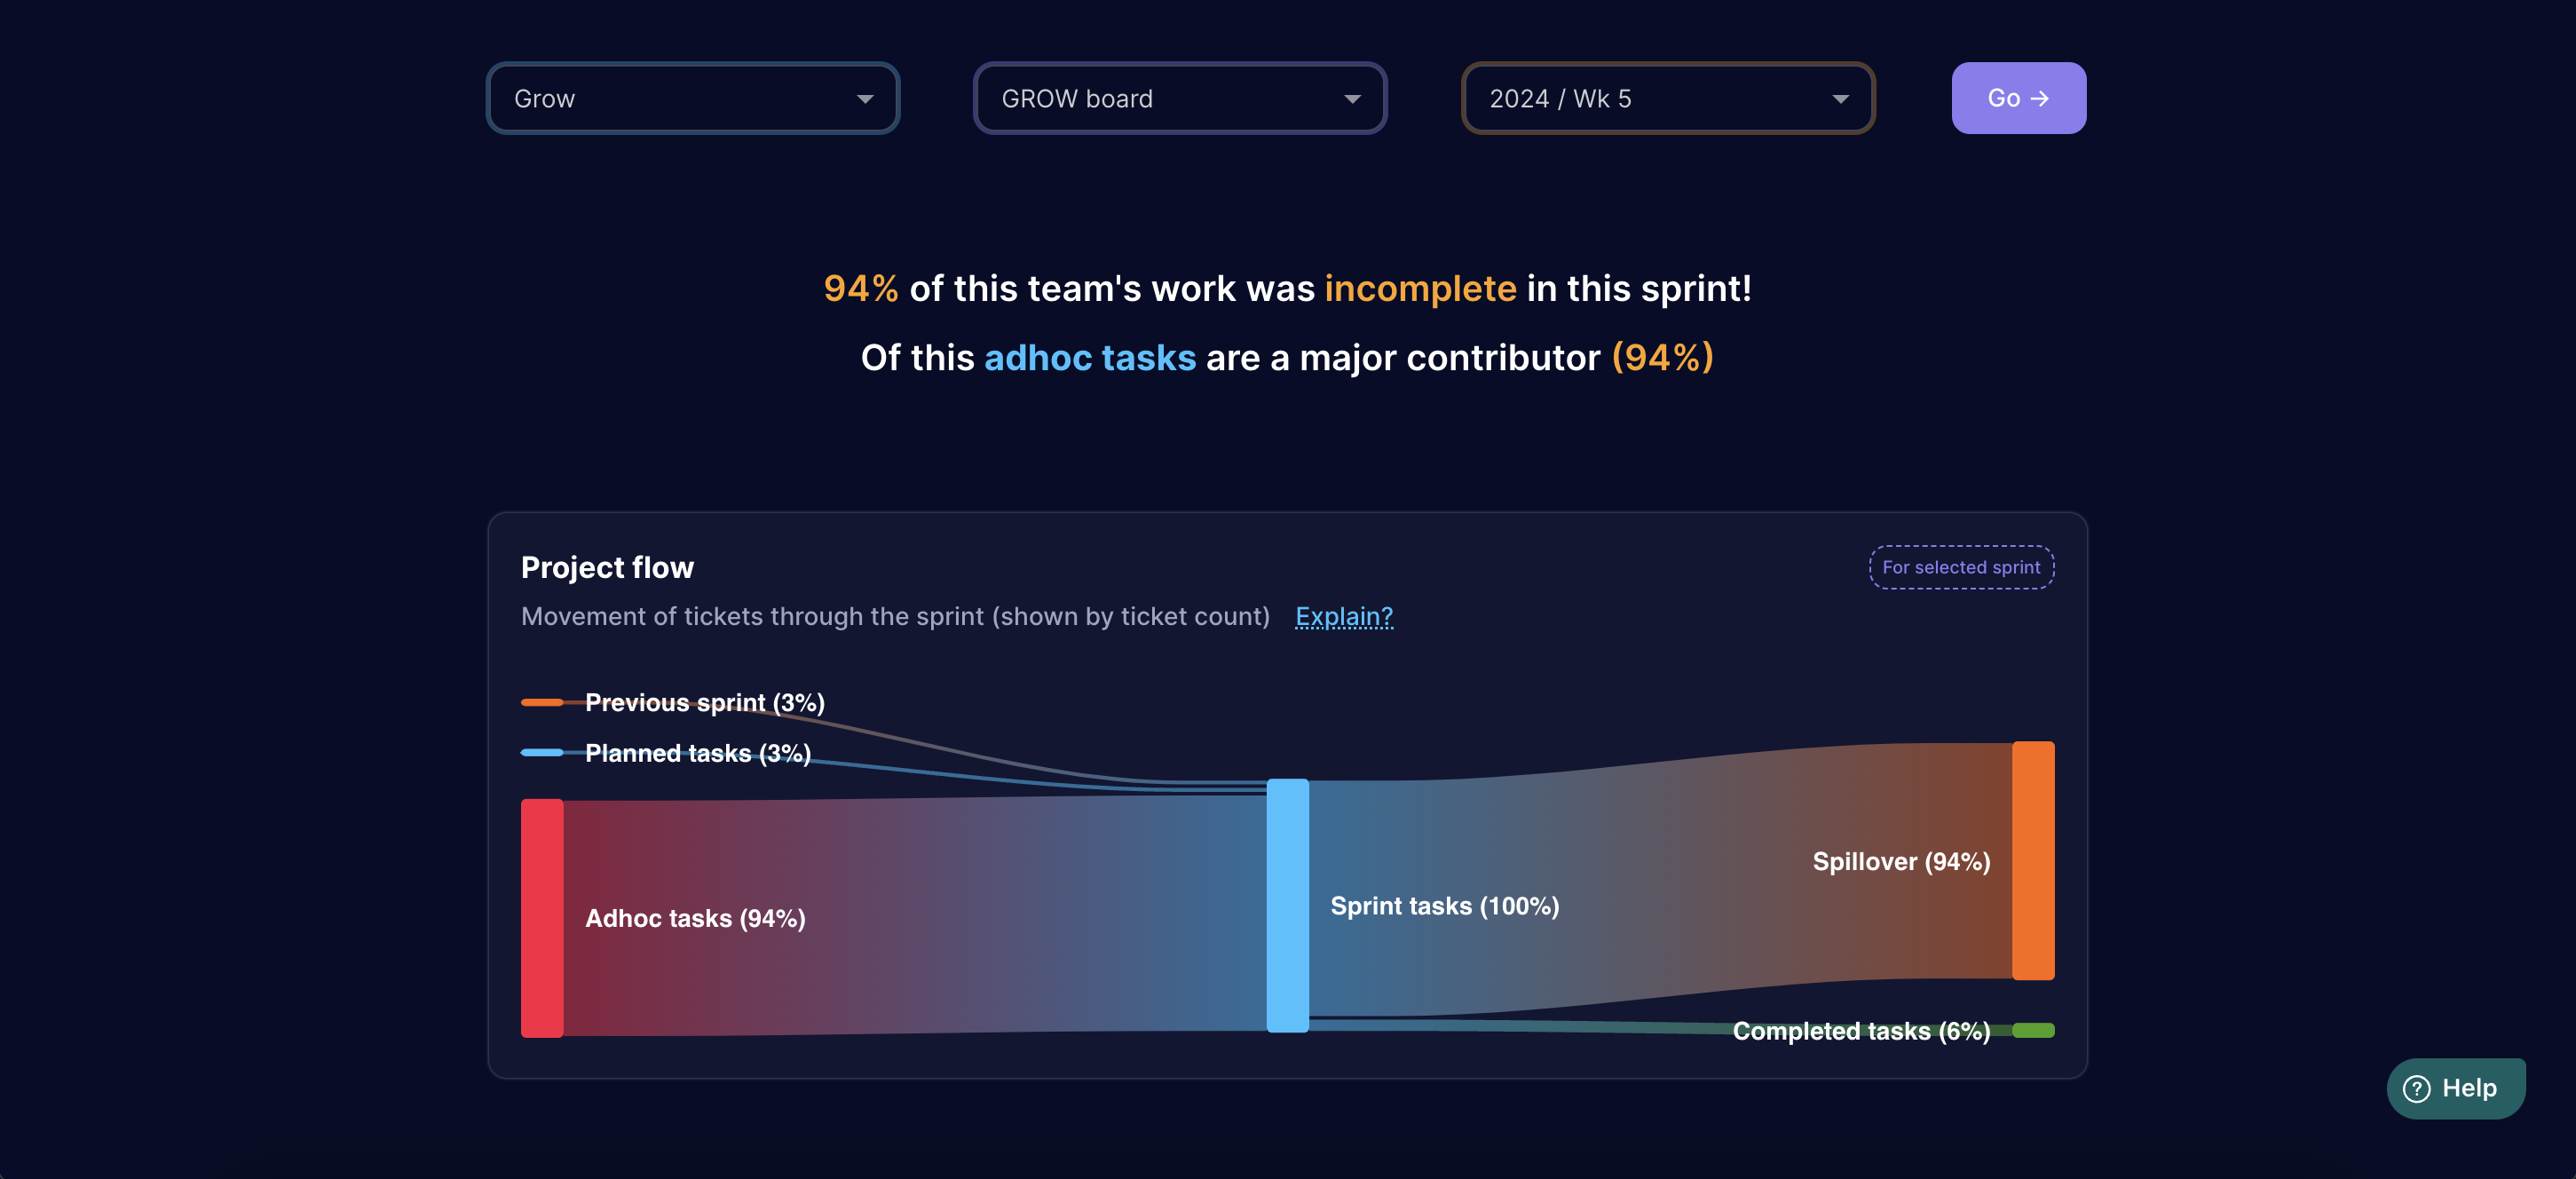
Access Reports
The app automatically accesses relevant metrics from your selected projects and boards for analysis.
Authenticate your Account
-
Connect your Reports for Jira Account
- To unlock the app's full potential, connect your Jira account with Reports for Jira by Middleware.
- This secure connection allows data access and synchronization of data for generating comprehensive reports and notifications.
- (Middleware is fully SOC2 Compliant).
- For this, click on Authenticate to continue.
-
Authentication Steps
Follow the on-screen instructions to connect your Jira account. This may require permission from the Jira account administrator.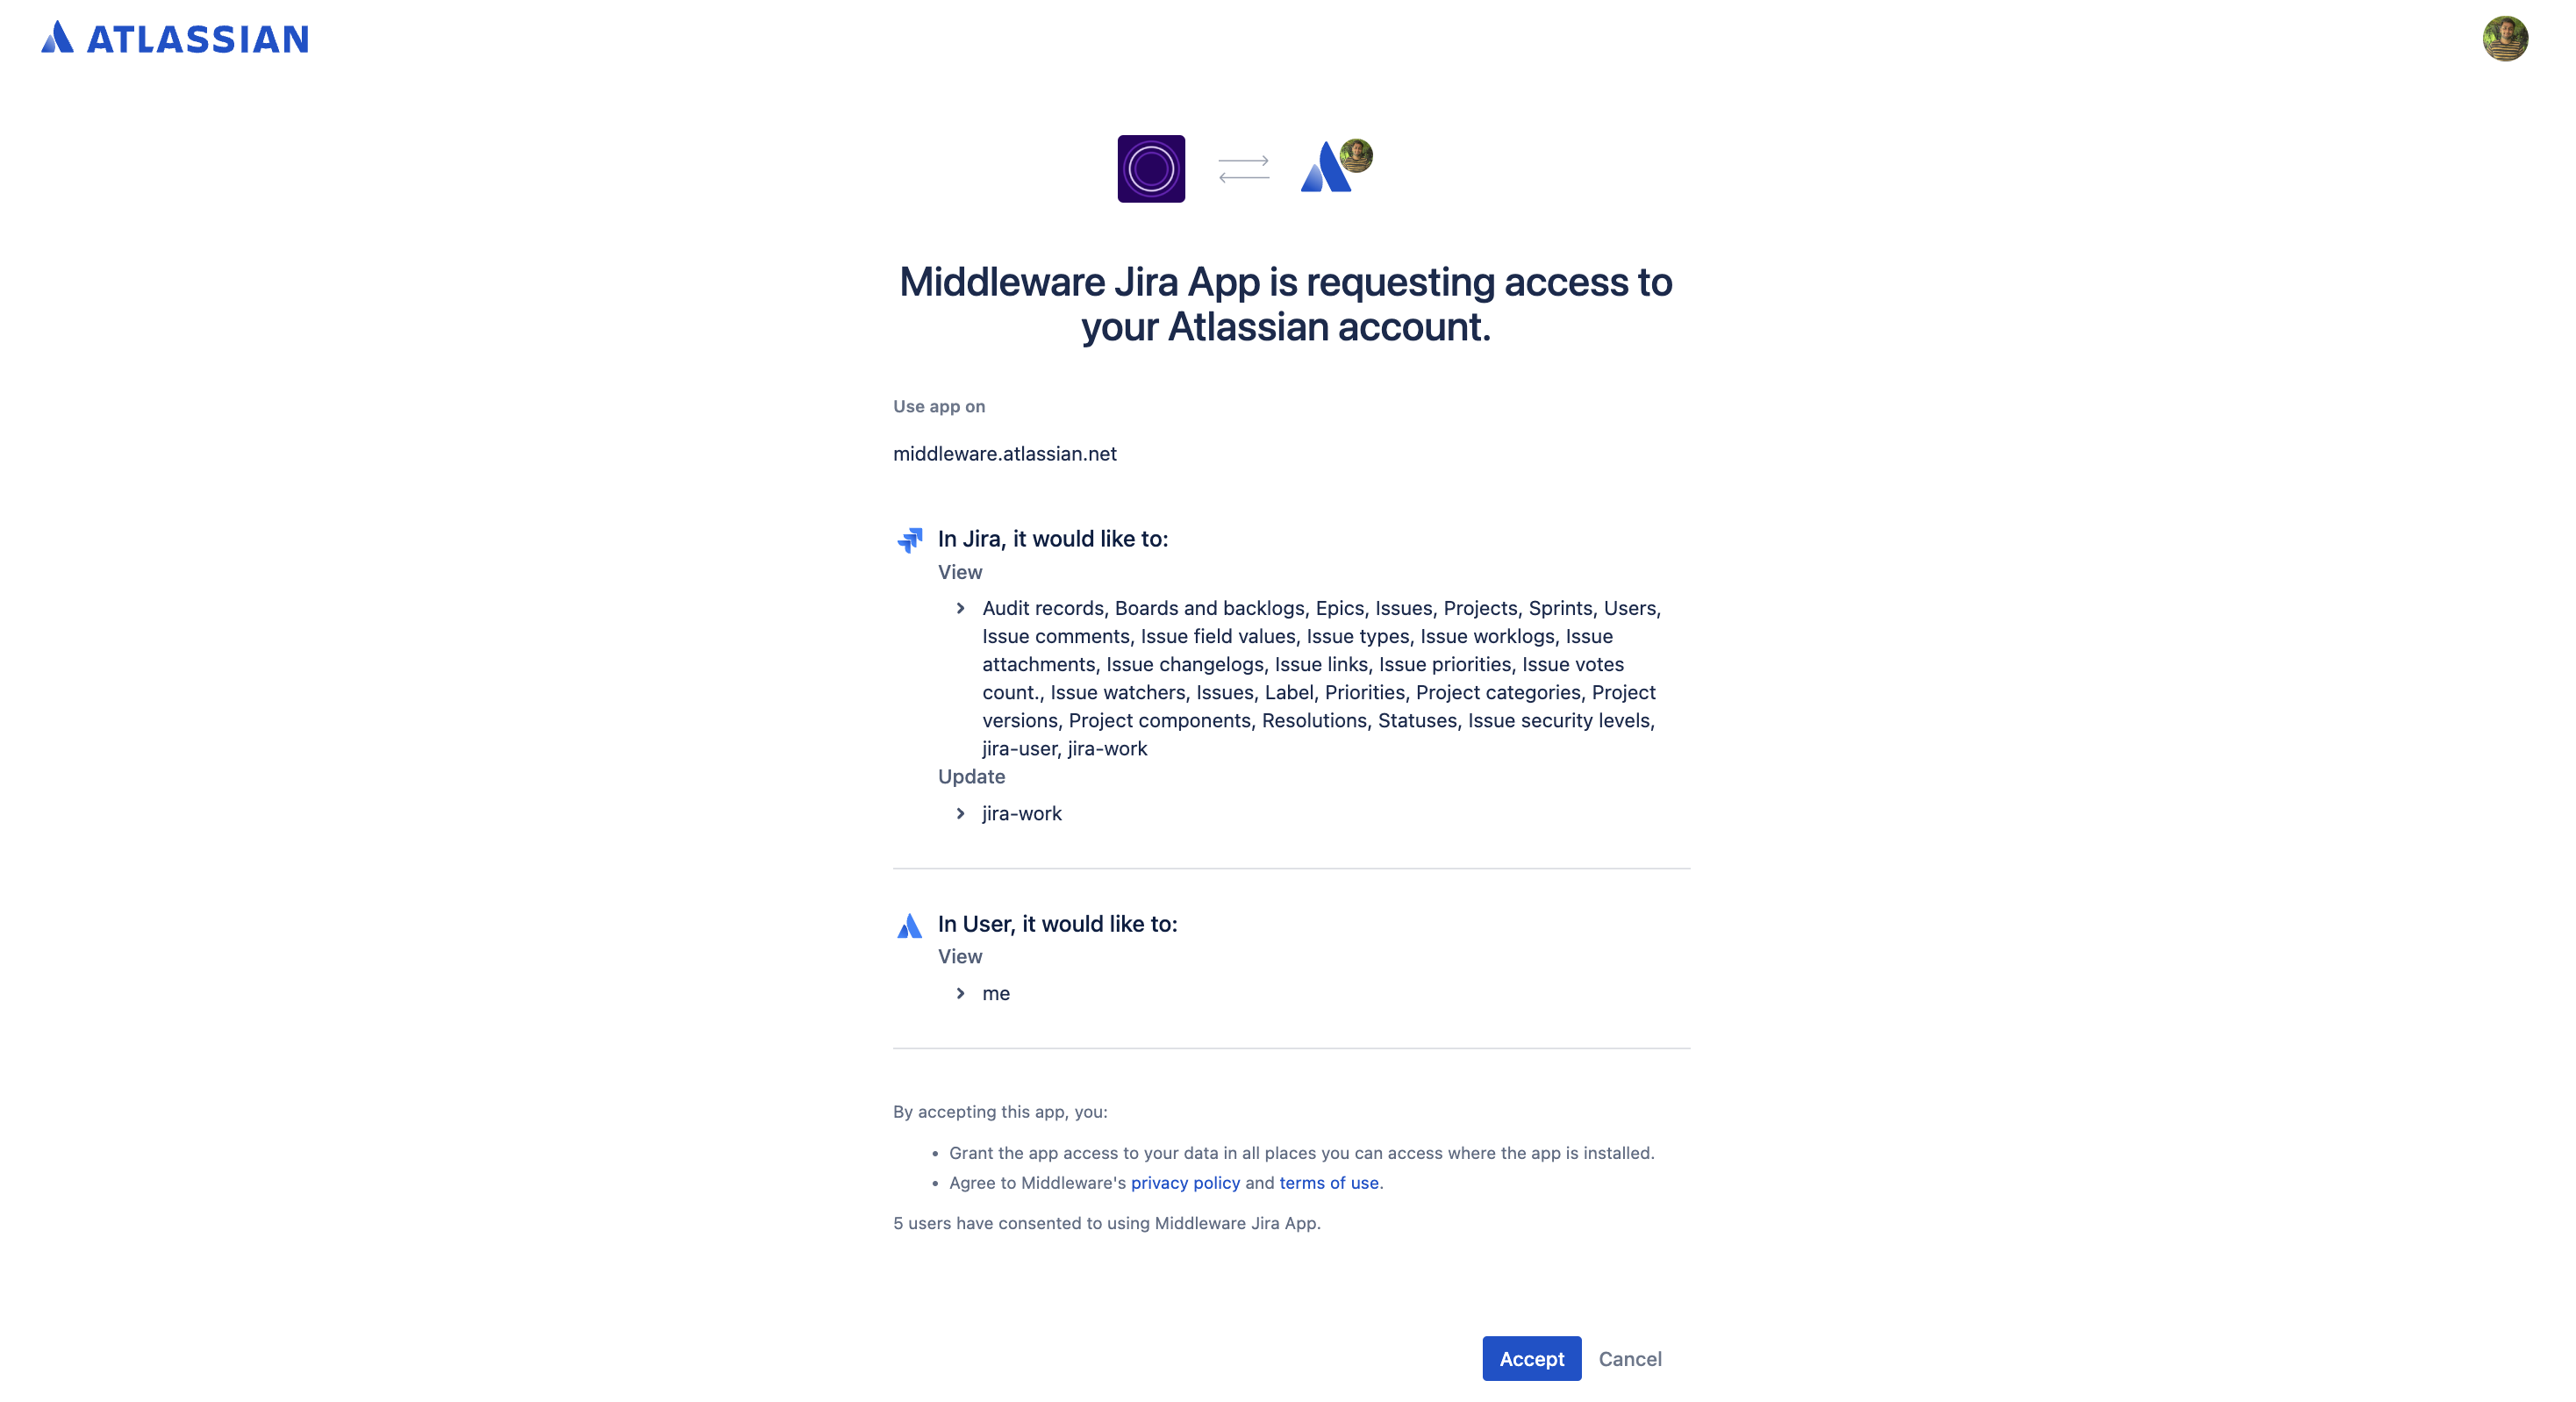
Invite Admin Users (Optional)
- Project Administrator: You can invite additional users to manage teams and users within the app.
- Benefits: This allows another authorized user to complete the onboarding process, including account authentication,
if needed.

Create Teams
Select the projects you want to analyze. By doing so, the app will automatically create corresponding teams within
the Sprint Reports for Jira app.
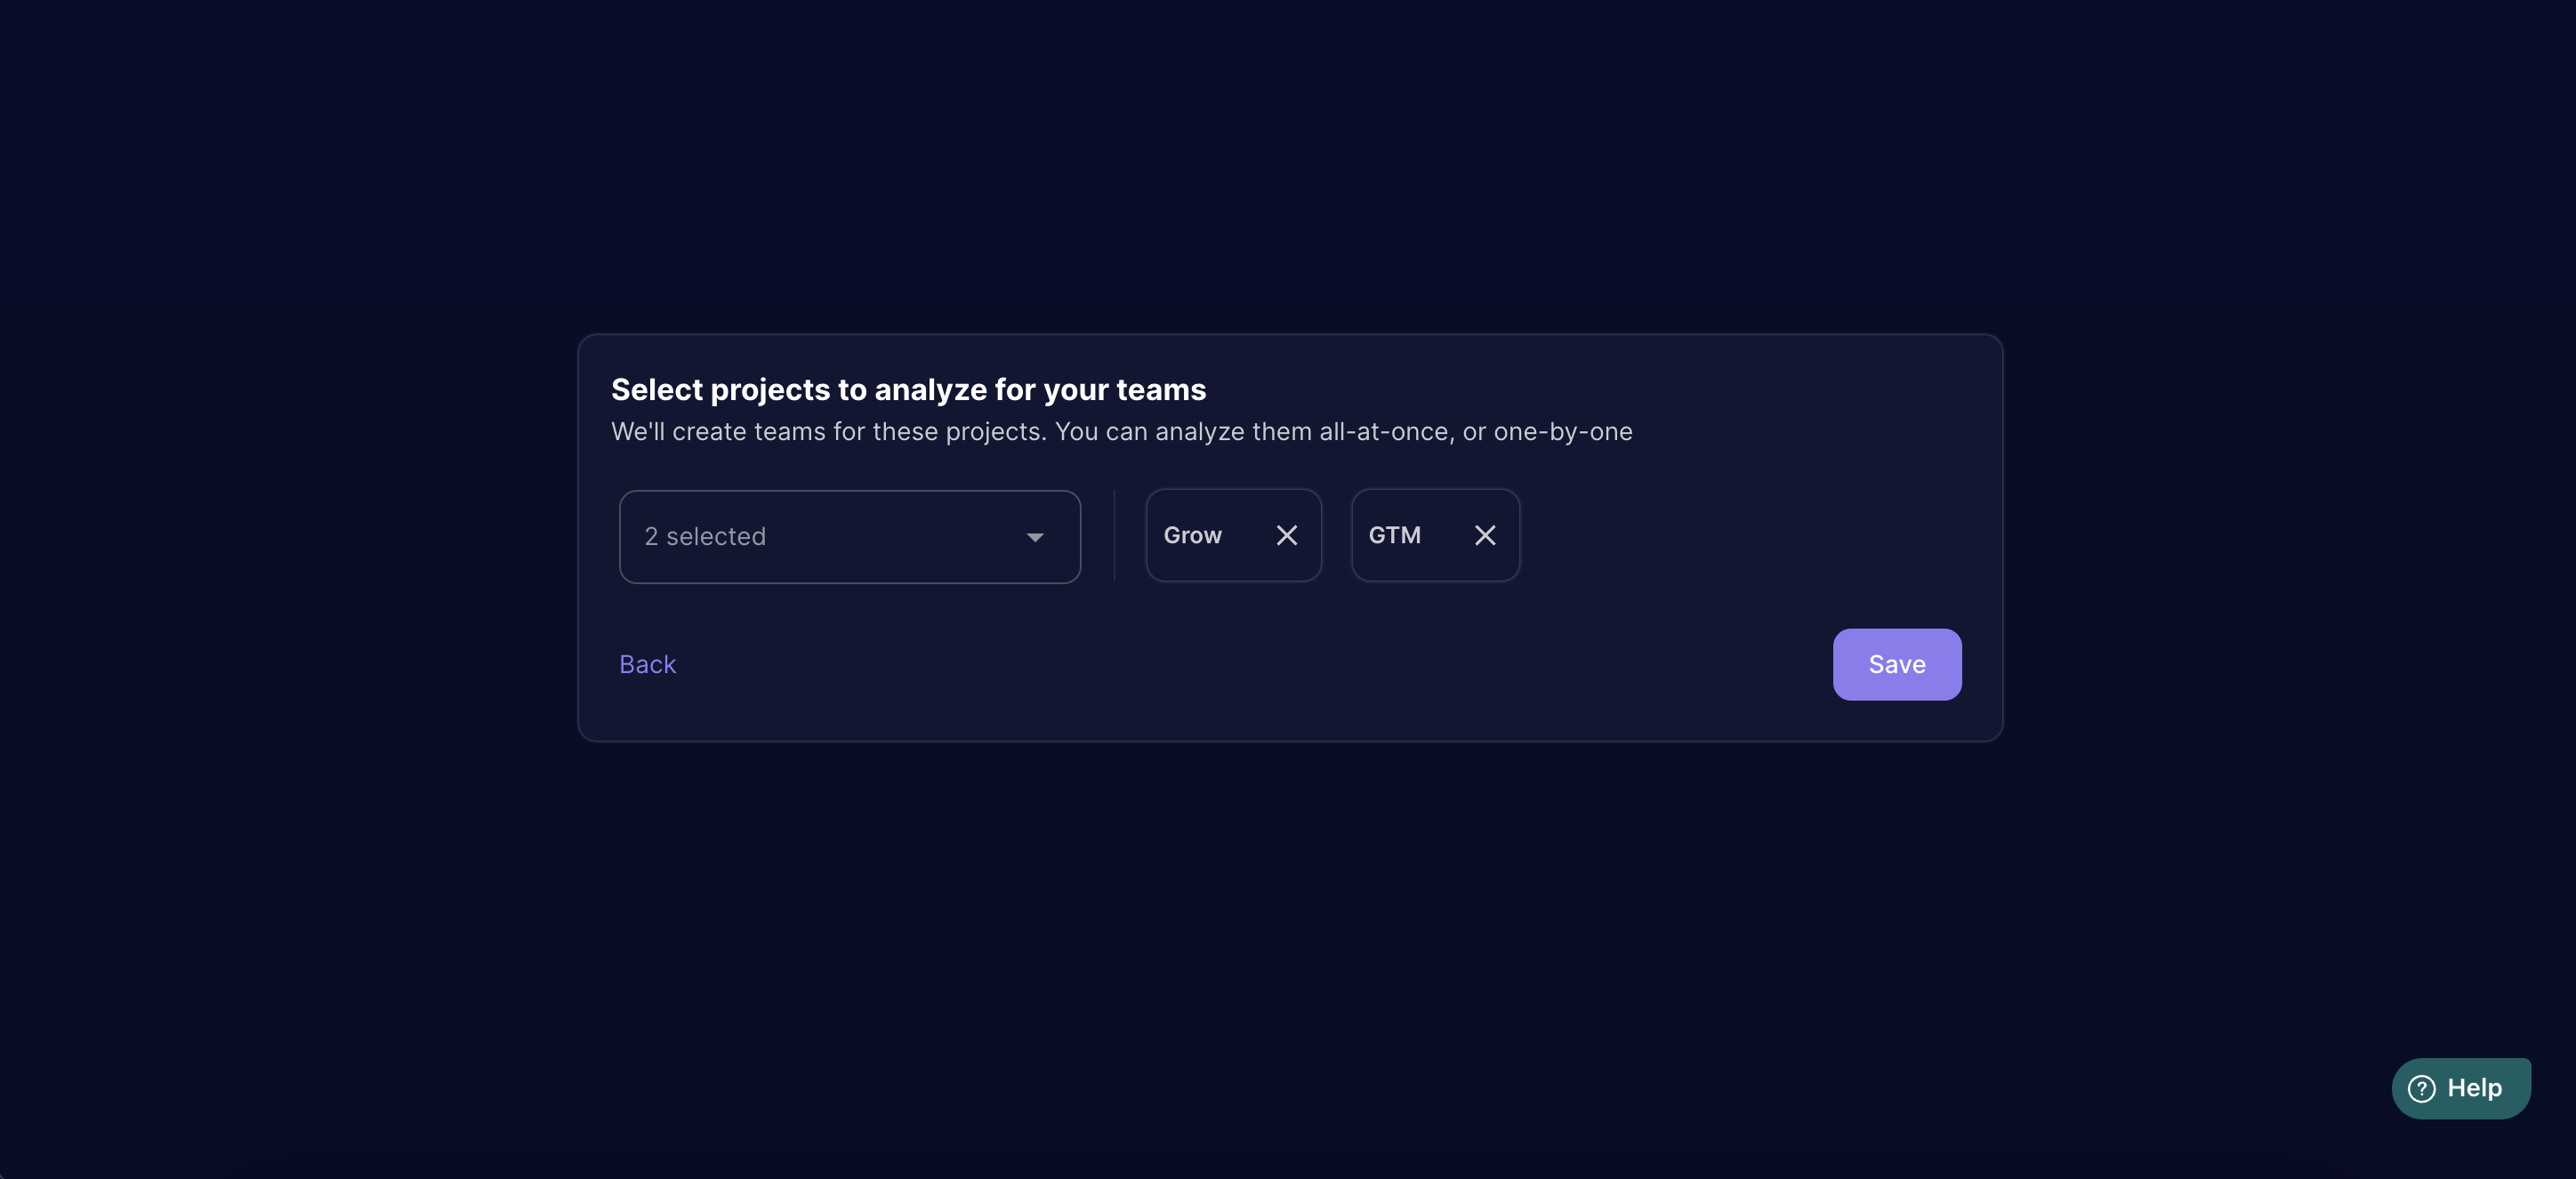
By following these steps, you will have successfully installed and configured the Sprint Reports for Jira app, preparing it to generate near sprint reports automatically & also share valuable software delivery process insights from your Jira data.
Next Steps
Now that you have installed and configured the Sprint Reports for Jira app, you are ready to explore its functionalities and start generating reports.
The next section of this guide will delve into:
- Understanding Report Types: An explanation of the different report types available and their respective functionalities.
- Generating Your First Report: A step-by-step guide on creating your initial report using Sprint Reports for Jira.
These sections will equip you with the knowledge to leverage the full potential of Sprint Reports for Jira by Middleware and gain valuable insights into your software delivery process.